ShortPixel Plugin: Make your website Faster With ShortPixel Image Optimizer WP Plugin
Did you face the problem with slow loading of the website? This is even more frustrating if you’ve been using the internet long enough to remember when speeds weren’t quite so active. Solve the Problem with WordPress ShortPixel Plugin and your site will load faster.
The visitor of your site judge whether your site is worth their time or not. If your site loads slowly, they do not spend much time on it and ultimately your site ranking becomes poor.
Don’t be panic, All you need to go with ShortPixel Plugin and follow the instruction of this Article which will make your blog quick to load. A quick-loading blog has always got a chance of good ranking and has more traffic.
let’s have an eye at WordPress image optimization plugin that can confirm your site is quick to load.
Basically, the load on your website is because of your media files. So, it is one of the most important things you can do is optimize your images. To do this I recommend ShortPixel Plugin is the best plugin to optimize all your images and give your site to load fast.
How ShortPixel Plugin Helps You To Optimize Your Image
Shortpixel is the best WordPress Image optimization Plugin.
You can directly configure it on your site in the nutshell in order to optimize the images automatically that you upload to your site.
ShortPixel offers the following features that help you.
- No file size restrictions.
- Supports Format PNG, JPG, GIF, PDF documents.
- Convert from one format to other ( PNG to JPG) in order to reduce more size.
- Two types of compression: Lossless: You do not face the loss of your image quality during a small reduction in file size. Lossy: You face the loss of your image quality, It gives a larger reduction in file size.
- Resize the actual dimension of your image.
- It offers you an API.
- Bulk optimize
How To Set Up ShortPixel On Your WordPress Site
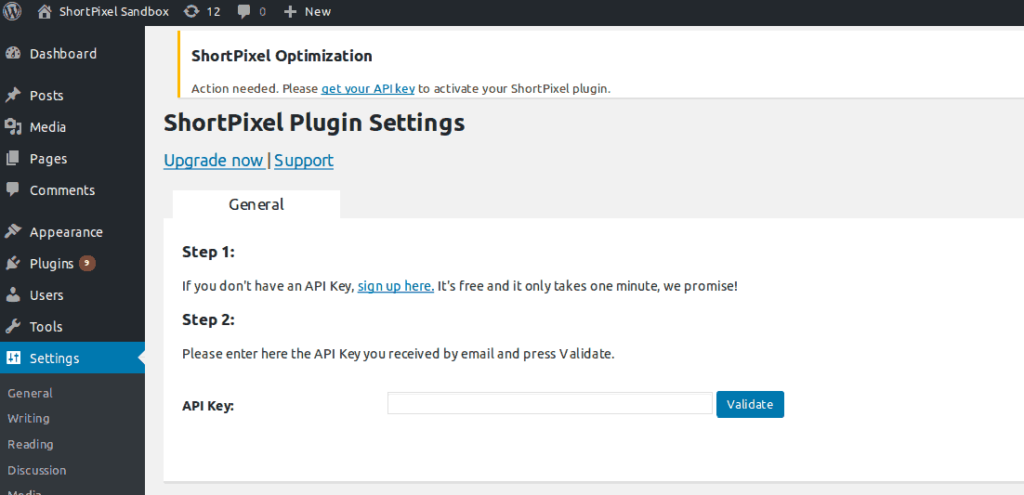
ShortPixel offers both free & paid accounts and also makes the website faster. It comes with 100 free credits/month and additional credits can be bought with as little as $4.99 for 5,000 image credit
Let’s see the installation process, Follow few steps.
Step 1: Install and activate the ShortPixel plugin
It is very simple to install and activate the ShortPixel plugin. Go to WordPress.org to install the plugin.
Step 2: Request your ShortPixel API key
To request your ShortPixel API you should go to ShortPixel settings Followed by an email in the Request an API Key box and Finally click Request Key.
How To Configure ShortPixel Settings
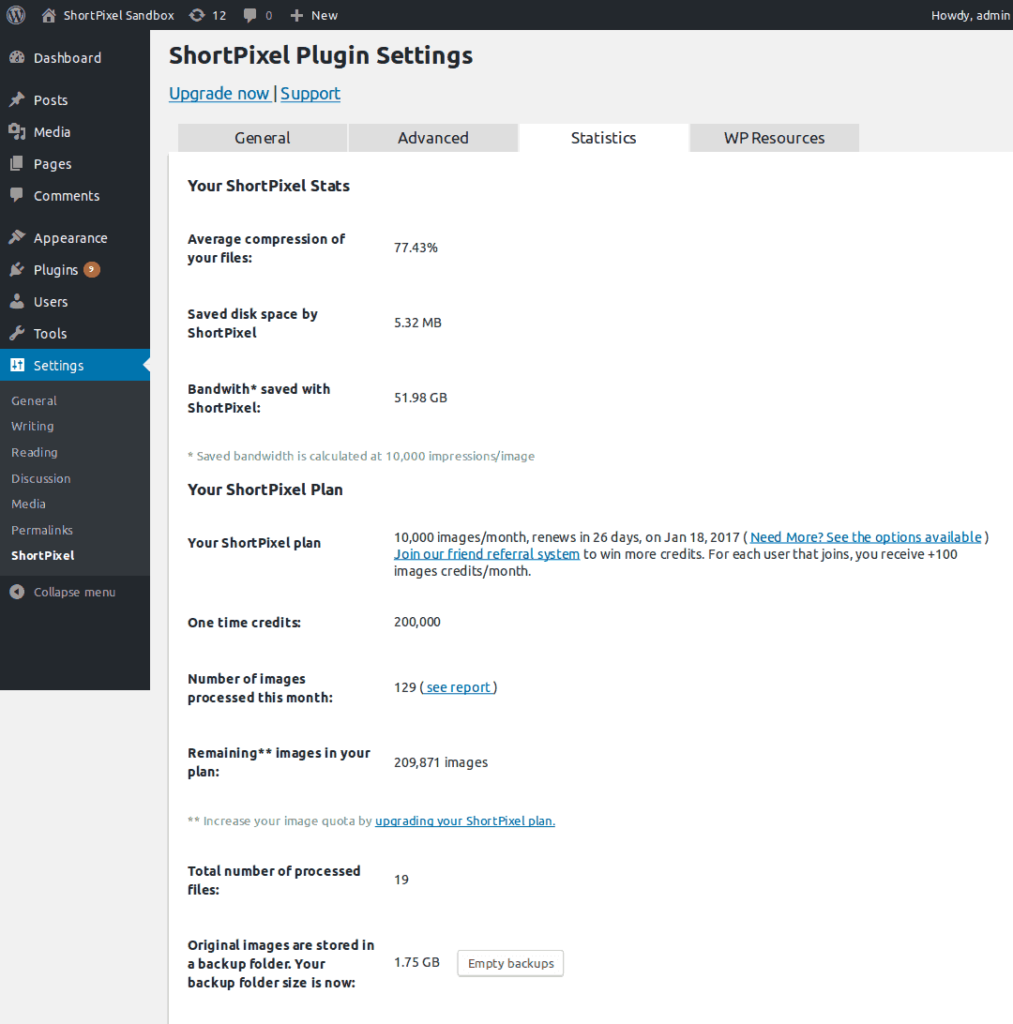
At this point, you are done with the installation process and requesting API. Now, configure a few settings.
- In these settings, you can choose your Compression type.(Default is Lossy setting). To protect your image quality it is necessary to choose your compression type.
- Image backup
- Resize large images
How ShortPixel Plugin Compress WordPress Images
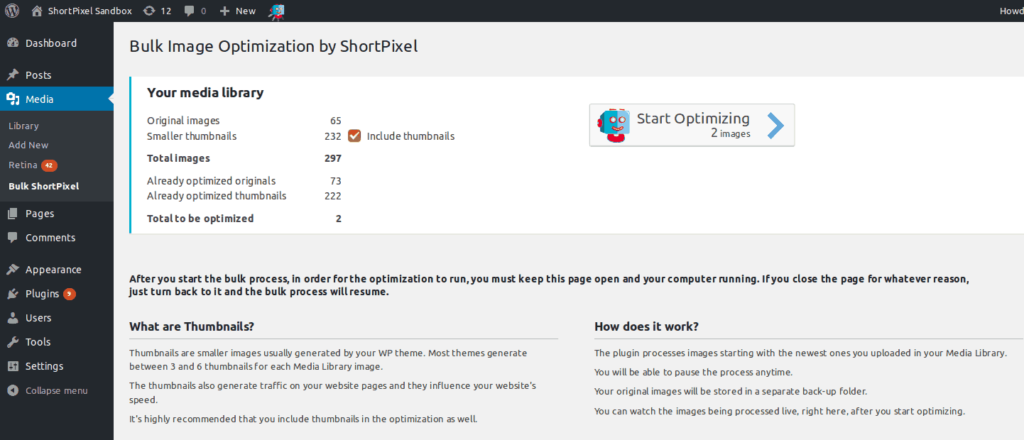
ShortPixel is the great tool which automatically starts optimizing. It offers you both Bulk Optimization and individual image optimization.
Whenever you upload a new image to your media library, ShortPixel automatically starts optimizing and if you wish to do Bulk ShortPixel you can go to Media → Bulk ShortPixel.
Lastly, Click Start Optimizing button to start compressing all the existing images and the new one.
Note*ShortPixel reduce image size up to 71.85%.


