


")


")


How to Install WordPress in Linux Mint Locally
WordPress is a powerful, free and open-source, highly pluggable and customizable CMS. If you do not have prior knowledge of web design and web development, WordPress is easy to install and learn to set up blogs as well as complete websites with a few clicks. If you are Linux user and want to install WordPress locally on your Linux system, you can install by using these following steps.
1. Install Apache Web Server :
To install Apache webserver follow the command below :
sudo apt-get install apache2 apache2-utils
Now we need to enable Apache2 web server :
sudo systemctl enable apache2
sudo systemctl start apache2
Note: The Apache default root directory is /var/www/html, all your web files will be stored in this directory.
To test Apache server, open your web browser and enter http://server_address. The Apache2 default index page will be displayed.
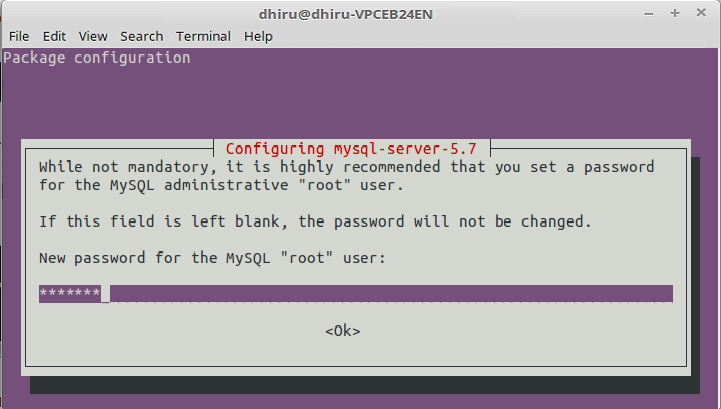
2. Install MySQL Database Server :
After installation of Apache web server, we need to install MySQL database server.
To install MySQL Database server follow the command below :
sudo apt-get install mysql-client mysql-server
During the installation of MySQL, you need to set the root user password. Choose a strong and secure password.
3. Install PHP:
To install PHP using the command below :
sudo apt-get install php7.0 php7.0-mysql libapache2-mod-php7.0 php7.0-cli php7.0-cgi php7.0-gd
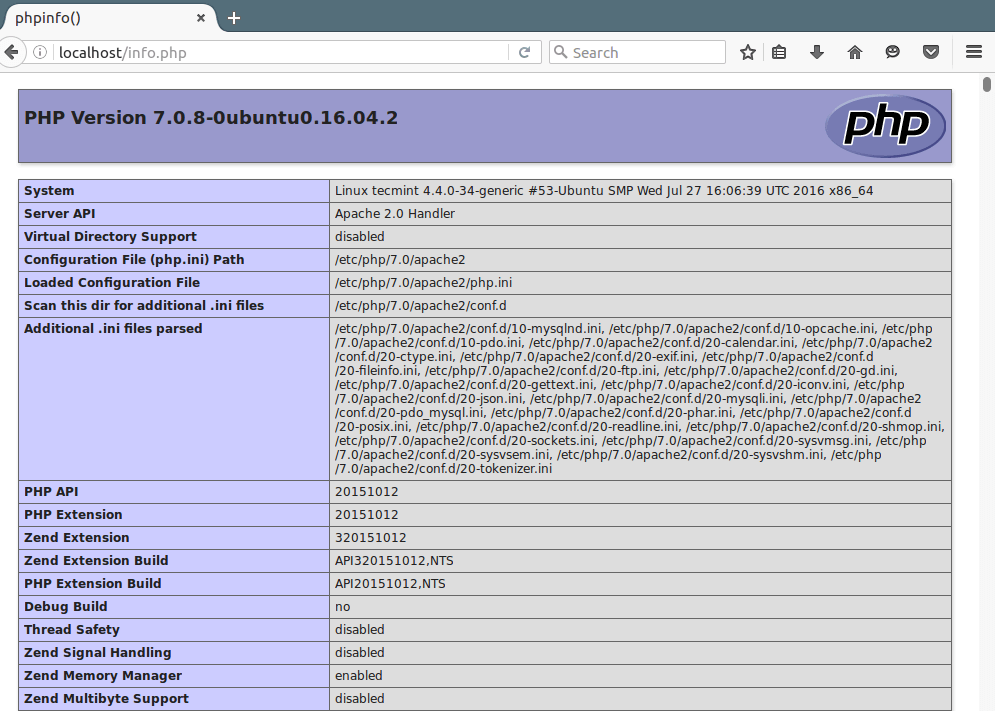
To test that PHP is working or not with the web server, create a info.php file inside /var/www/html by follow the given command :
sudo vi /var/www/html/info.php
An editor will be open, now you have to paste the given code into the file.
<?php
phpinfo();
?>
Now open your web browser and type http://server_address/info.php. You will see a PHP info page as below :
4. Install The WordPress CMS:
To install the WordPress, you have to download the latest package of WordPress. After download, extract the downloaded package.
To download and extract the latest package you need to follow these command one by one:
wget -c http://wordpress.org/latest.tar.gz
tar -xzvf latest.tar.gz
After extracting, move the WordPress file from the extracted folder to the Apache default root directory /var/www/html/.
sudo rsync -av wordpress/* /var/www/html/
Now the important work during installation of WordPress is to set the permission.
sudo chown -R www-data:www-data /var/www/html/
sudo chmod -R 755 /var/www/html/
5. Create WordPress Database :
Provide the root user password using the below command :
mysql -u root -p
A MySQL shell will be open, type the following command one by one :
mysql> CREATE DATABASE wordpressdatabase;
mysql> GRANT ALL PRIVILEGES ON wordpressdatabase.* TO  'your_username_here'@'localhost' IDENTIFIED BY 'your_chosen_password_here';
mysql> FLUSH PRIVILEGES;
mysql> EXIT;
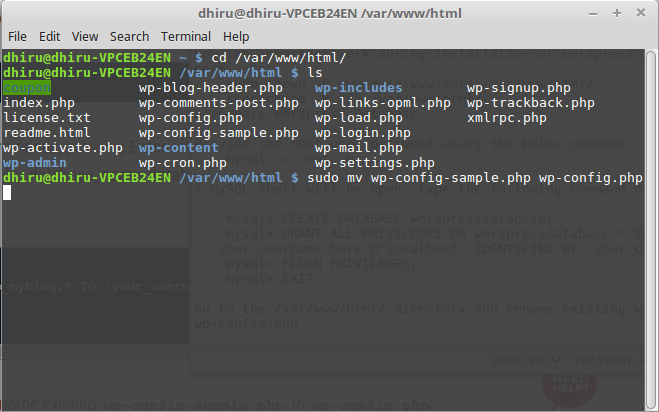
Go to the /var/www/html/ directory and rename existing wp-config-sample.php to wp-config.php
Now open and edit the wp-config.php file and save by pressing Ctrl+s:
sudo gedit wp-config.php
In the wp-config file, set database_name, database_user_name and password according to MySQL shell.
After that, restart the web server and MySQL service using the commands below:
sudo systemctl restart apache2.service
sudo systemctl restart mysql.service
Open your web browser and enter localhost to get the WordPress installation page. Now, you need to enter some information here and then you can now enjoy WordPress on your system.
READ MORE: How to enable 256 color terminal in Ubuntu?


")


